Movavi Slideshow Maker
An easy-to-use, yet efficient slideshow making program
Use Movavi Slideshow Maker
150+ filters: make your slideshow even more meaningful with special effects.
100+ transitions: add animated transitions to help your slideshow flow smoothly.
40+ title styles: display names, add dates to photos, highlight memorable events.
20+ music tracks: add songs to match the atmosphere of your slideshow.
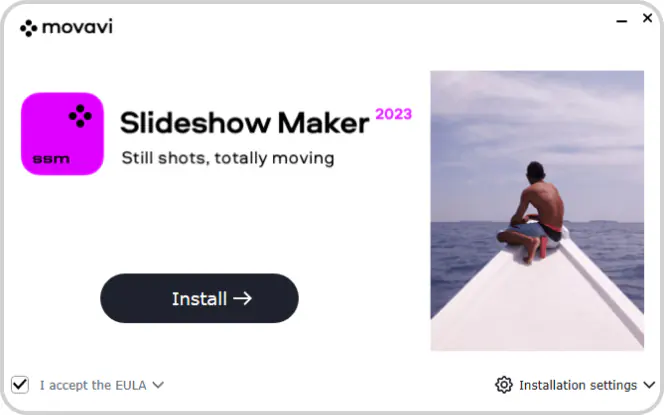
By clicking the download button, you're downloading a trial version of the program.*
Download the installation file for free, open it, and follow the on-screen instructions to install Movavi’s memorial slideshow maker.
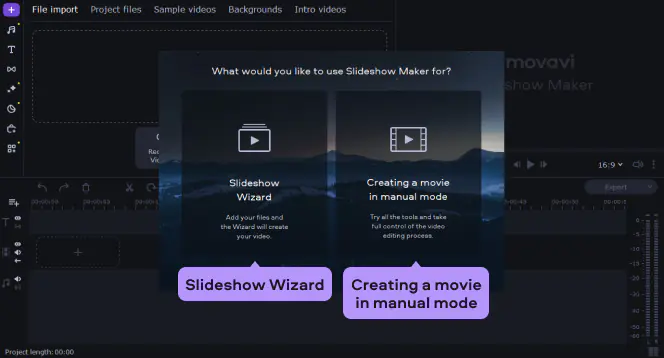
You can choose between two ways to work with Movavi Slideshow Maker. Select Slideshow Wizard and the program will guide you through making a memorial slideshow in a few easy steps. Pick Creating a movie in manual mode to take control of the creative process and make a personalized slideshow for a funeral using the adjustable settings and options. Both modes have on-screen tips to help you bring your ideas to life.
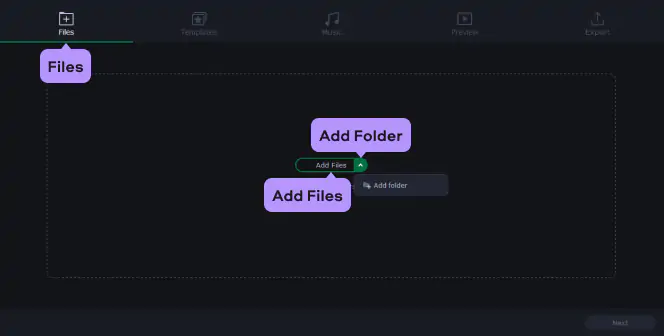
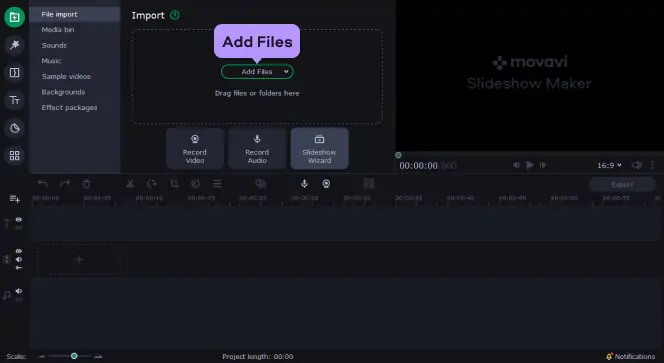
Click the Add Files button in the Files tab to choose the images to include in your memorial photo slideshow. To add entire folders of photos, click Add Folder. After adding the images, you can change the order in which they appear by dragging them around; you can also remove individual slides by clicking the appropriate icon on each picture.
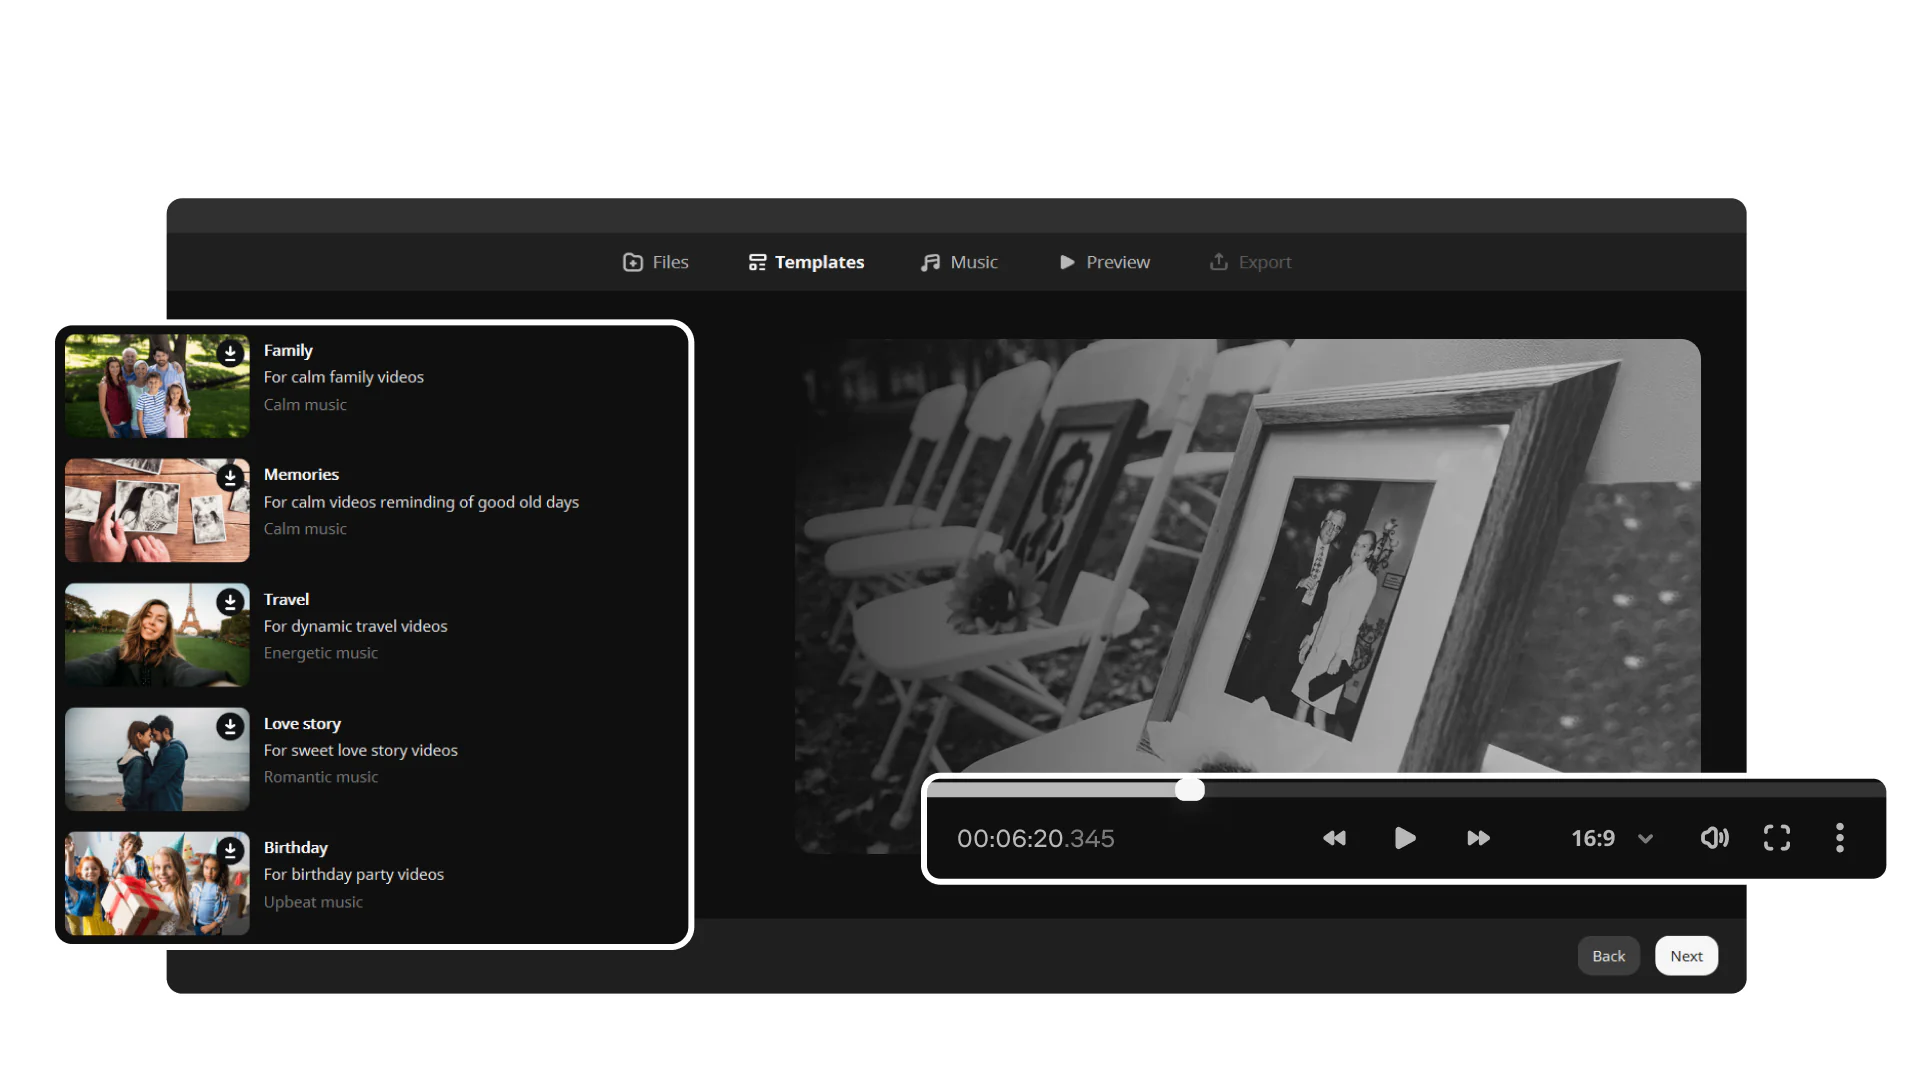
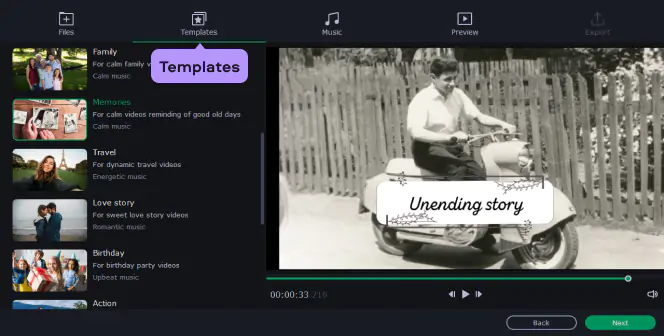
When creating your slideshow, you can save time by choosing the ready-made memorial slideshow template. It includes custom transitions, captions, background music tracks, and more – you don’t need to create anything manually. Preview this theme by clicking on it. To continue working with your chosen theme, click Next аnd move to Step 3.3 below. To use your own choice of music, captions, and transition style, choose No Theme, click Next and go to the next step.
Open the Music tab, click the + icon to upload the sounds or music of your choice, or select from the examples.

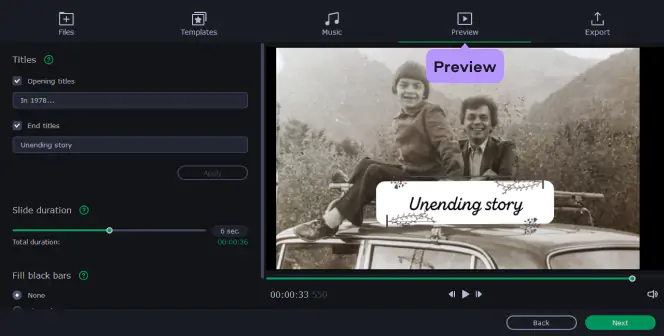
Open the Preview tab. Here, in the corresponding drop-down tabs, you can write some kind words or quotes in tribute to the departed one by adding captions, adjust your video to the duration of the music, and remove any unwanted black sidebars from your video. Play your slideshow in the preview window by clicking the appropriate icon.
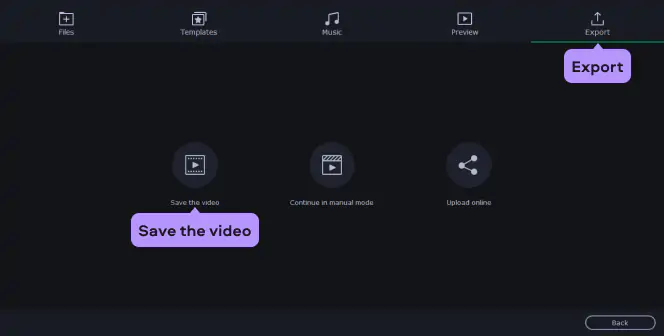
After you’ve completed your memorial photo movie, go to the Export tab, click Save the video and go to Step 5 below.
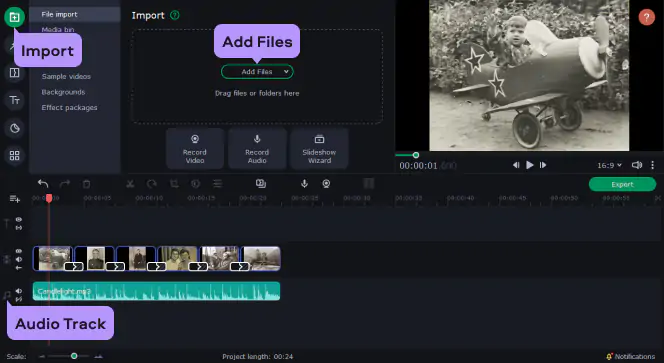
Click Add Files and select the photos you want to use in your slideshow. You can use still photos and memorial video clips. All the images you add are automatically transferred to the timeline. Alternatively, you can simply drag and drop files into the working area.
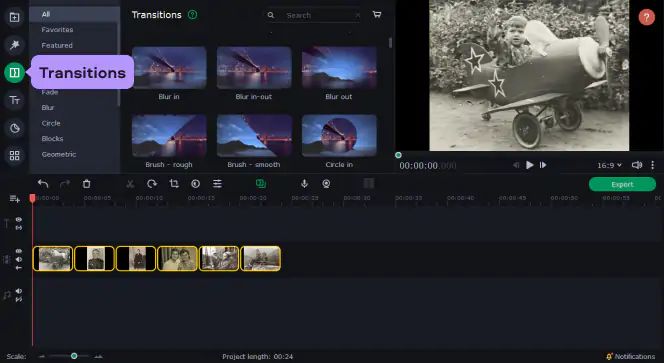
Continue creating your slideshow by adding your choice of transitions between the frames to create a flow for your movie. Open the Transitions tab, review appropriate styles, and drag and drop your selections onto the working area between the slides. You can also click on the little icon in the screen image to automatically add transitions between all the frames at once.
Now it’s time to set your soundtrack. Return to the Import tab, open File import, click Add Files, choose the desired music file, or select from the examples. Your music will be transferred to the Audio Track on the timeline automatically.
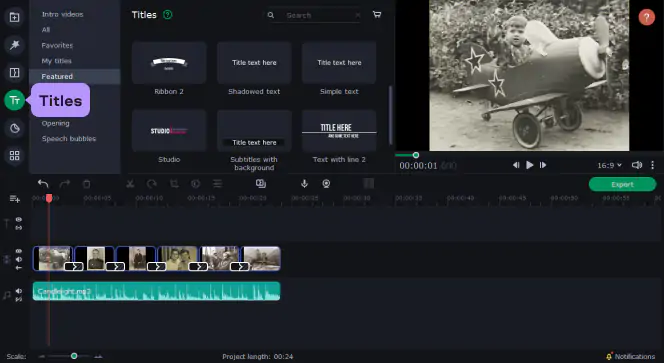
Write some kind words in tribute to the departed one by adding captions. Click the Titles tab on the left to open the title collection, then drag and drop the one you want onto the timeline.
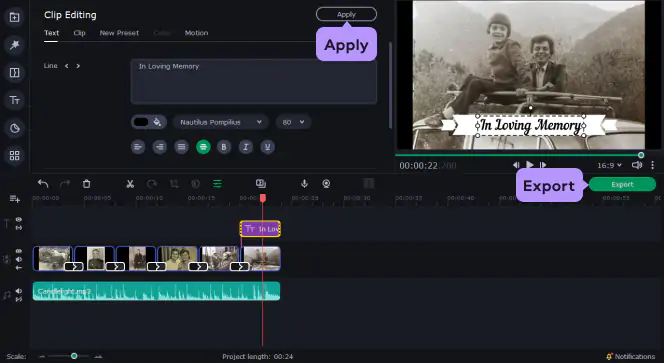
To edit a title, double-click it on the timeline or in the Preview Area. Then double-click the text box in the Preview Area and enter the text you want to include in your photo slideshow, such as quotes and credits. To change the title settings, double-click the title on the timeline and specify the text parameters like font, size, and color in the preview window. To save the changes, click Apply.
То save your movie, click Export and go to step 5 below.
Select the appropriate option from the tabs on the left in the export window. Save your slideshow quickly to watch it on your computer or mobile device, or upload it directly to YouTube by clicking Upload to YouTube. When you’re done, click Start.

Movavi Slideshow Maker


Your all-in-one package for working with multimedia files. Create movies with titles and effects, capture videos from screen, convert media files to any format, burn Blu-rays, DVDs, and CDs.
An intuitive photo-editing app that lets you retouch any photo on the fly. Improve quality, add filters and captions, remove unwanted objects, change backgrounds, and more!
Join us for discounts, editing tips, and content ideas


1.5M+ users already subscribed to our newsletter