How to Add Audio to Google Slides: A Complete Guide

Edit audio and record voice-overs with Movavi Video Suite:

  • Create complete movies with music and effects
  • Convert and play back media files
  • Burn CDs, DVDs, and Blu-ray discs

By clicking the download button, you're downloading a trial version of the program.*

Edited by Ben Jacklin
18,367

Why add music to your Google Slides presentations

Want to take your Google Slides to the next level? Adding the right music or audio can instantly make any presentation more engaging and impactful. Sound enhances slides by setting the mood, emphasizing key points, and making your message memorable.

Music works wonders whether you're crafting slides for business, educational, or personal purposes. Captivate clients with an upbeat soundtrack that matches your brand. Help students absorb complex topics by incorporating relevant audio clips. Or add a nostalgic song to a slideshow celebrating family milestones.

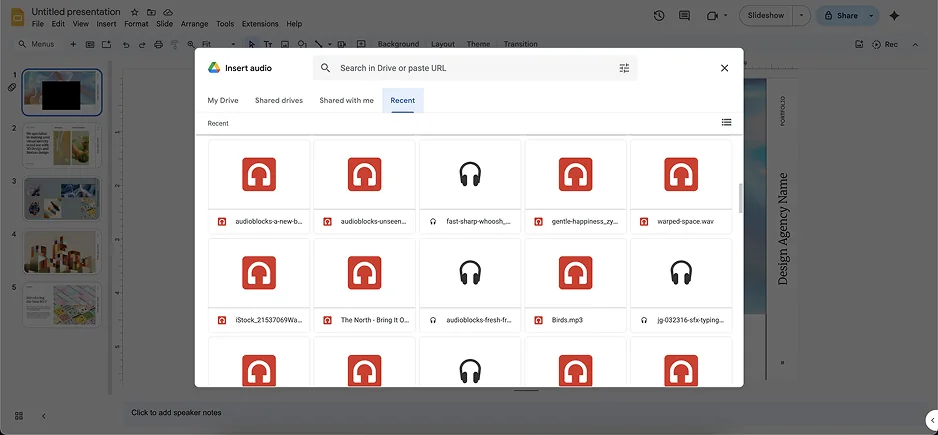
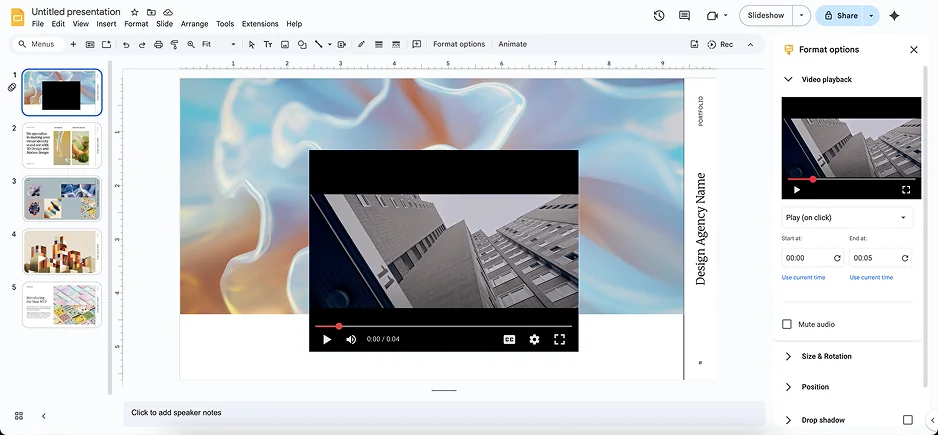
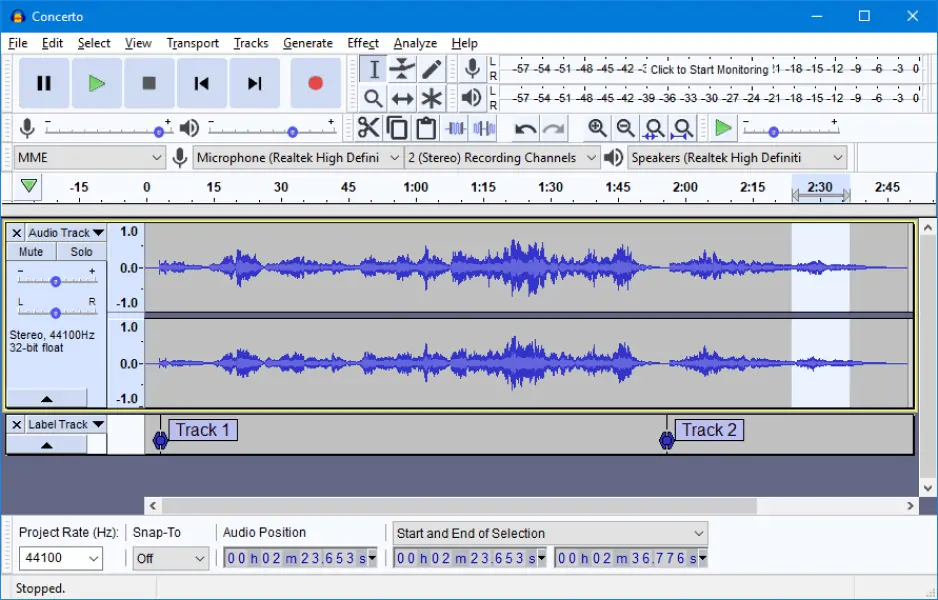
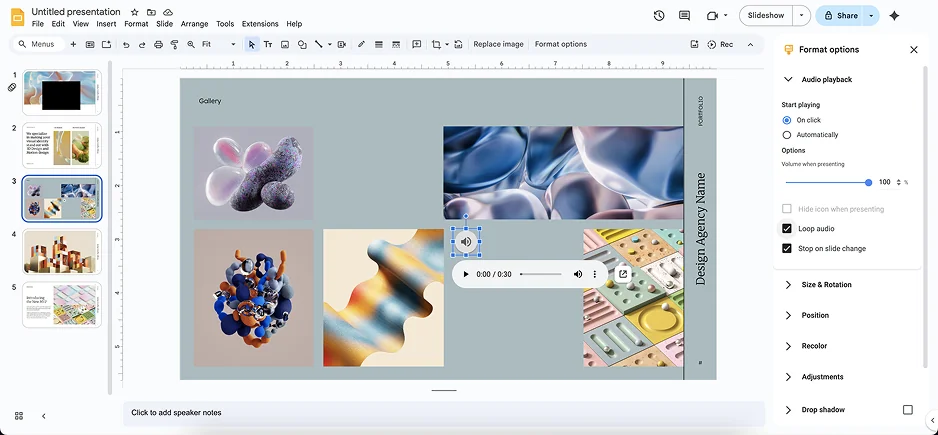
Luckily, Google Slides offers several simple methods to add audio elements to your presentation. This article will show you exactly how to add music to Google Slides using audio files from your Google Drive, external sources like YouTube or Spotify, or even by recording your own voice over. Let's dive in and explore how you can create presentations that sound as great as they look.

How to add music to Google Slides: A step-by-step guide

Method 1: Uploading audio to Google Slides via Google Drive

The simplest way to add audio to Google Slides is to upload the file directly from Google Drive. This method works best for audio files in MP3 or WAV format and under 10 MB. Here's how:

  1. Open your Google Slides presentation.
  2. Click Insert in the top menu, then select Audio.
  3. Choose the audio file from your Google Drive. (You can also upload it from your device first.)
  4. Click Select to insert the audio file into your desired slide.

MP3 files offer smaller sizes but lower quality than WAV files. Consider your needs:

File Type

Pros

Cons

MP3

  • Smaller file size (better for web)
  • Compatible with most devices
  • Lower sound quality

WAV

  • Uncompressed, higher sound quality
  • Much larger file sizes

Troubleshooting tip

If your audio file isn't appearing, double-check that it's in a supported format and under the 50 MB limit per file.

Method 2: Adding audio from external sources

Want to add music from YouTube, SoundCloud, or Spotify to your slides? You have two options:

  1. Embedding: insert the audio directly into your presentation. (Only works for YouTube.)
  2. Linking: create a link that opens the audio in a new browser tab. (Works for most platforms.)

Here's a quick comparison:

Method

Pros

Cons

Embedding

  • Audio plays directly in presentation
  • More seamless experience
  • Limited to YouTube videos
  • Requires Internet connection

Linking

  • Works for most audio platforms
  • Offers more music options
  • Opens audio in separate tab
  • Less integrated with slides

To embed a YouTube video:

  1. Copy the video URL from YouTube.
  2. In Google Slides, click Insert > Video.
  3. Paste the URL and click Select.
  4. Resize or reposition the video on your slide.

Method 3: Recording and inserting voiceovers for Google Slides

Recording your own voiceover is perfect for adding a personal touch to presentations. For the best results:

  1. Choose a quiet room and a quality microphone.
  2. Write a clear script and practice before recording.
  3. Record with free software like Audacity or Online Voice Recorder.
  4. Edit the audio to reduce background noise and adjust volume levels.
  5. Export the final recording as an MP3 or WAV file.
  6. Upload the audio to Google Drive and insert it into your presentation (see Method 1).

Quick tips for top-notch audio:

  • Use a pop filter to reduce harsh "p" and "b" sounds.
  • Aim for a consistent volume level throughout.
  • Cut out any awkward pauses or mistakes.

Customizing and managing audio in Google Slides

Playback options and formatting

Once you've added audio to your Google Slides, you can customize its playback and format settings to better fit your presentation. Here's how:

  1. Select the audio icon on your slide.
  2. In the toolbar, click Format options to open the format panel.
  3. Under Audio playback, choose from the following options:
    - Play automatically: audio starts when you reach the slide.
    - On click: audio plays when you click the icon.
    - Repeat audio: loops the audio until you advance slides.
  4. To hide the speaker icon during your presentation, check Hide icon when presenting.
  5. Adjust volume and fade-in/fade-out effects using the sliders.

Troubleshooting tip

If your audio doesn't play on time, try re-uploading the file or moving it earlier in the slide deck to account for loading times.

Best practices for using audio in presentations

Just because you can add audio to your slides doesn't mean you always should. Consider these best practices:

Context

Background music

Voice-over

Sound effects

Business

Too unprofessional

Product demos

Distracting

Education

Engaging for students

Narrating concepts

Sparingly

Marketing

On-brand jingles

Customer testimonials

Attention-grabbing

Effective audio use in action:

  • In a business presentation, use a brief voiceover to walk through a product demo or case study.
  • For educational content, add background music to increase student engagement, and use voiceovers to explain complex topics.
  • In marketing slides, reinforce your brand with a subtle audio logo or jingle.

Avoid these common audio mistakes:

  • Loud, distracting background music that overpowers your message
  • Jarring transitions between different audio elements
  • Overusing sound effects that detract from your content

Remember, audio should enhance your Google Slides presentation, not distract from it. When in doubt, keep it subtle and purposeful.

Common issues and troubleshooting

Having trouble getting your audio to work in Google Slides? Here are solutions to common issues:

My audio won't play when I click the icon. What should I do?

First, check that your speakers are on and not muted. Then, try these steps:

  1. Select the audio icon and open the Format options panel.

  2. Under Audio playback, make sure On click is selected.

  3. If the issue persists, try re-uploading the audio file from Google Drive.

The audio is too quiet/loud. How can I fix it?

You can adjust the volume directly in Google Slides:

  1. Select the audio icon and open the Format options panel.

  2. Use the Volume slider to increase or decrease the loudness.

  3. Test the audio to find the right balance.

The audio doesn't sync with my slide transitions. What's wrong?

To synchronize audio with slide changes:

  1. Select the audio icon and open the Format options panel.

  2. Under Audio playback, choose Play automatically.

  3. Uncheck Stop on slide change so the audio continues across slides.

  4. Adjust the audio's duration in the file to match your desired slide timing.

I'm getting an error saying my audio file is restricted. How do I fix it?

This usually means the file permissions in Google Drive are set to private. To fix:

  1. Open the audio file in Google Drive.
  2. Click Share and change the setting to Anyone with the link can view.
  3. Return to your Google Slides presentation and reinsert the audio.

Quick troubleshooting guide:

  • Check speaker settings and unmute audio
  • Adjust playback options in the Format options panel
  • Ensure Google Drive file permissions are set to Anyone with the link can view
  • Re-upload the audio file from Google Drive if issues persist

By following these steps, you should be able to resolve most common audio issues in Google Slides. If problems continue, try using a different web browser or reach out to Google Support for further assistance.

Frequently asked questions

How do you add background music to YouTube on Google Slides?

To add YouTube music to your Google Slides presentation:

  1. Copy the YouTube video URL.
  2. In Google Slides, go to Insert > Video.
  3. Paste the URL and click Select.
  4. Resize or reposition the video on the slide.

For detailed steps, see Method 2: Adding audio from external sources.

Where can I download music for Google Slides?

You can download music for Google Slides from a variety of sources:

  • Royalty-free music sites like Bensound or Incompetech
  • Your personal music library
  • Stock audio sites like Shutterstock or Storyblocks

Once you've downloaded the audio file, upload it to Google Drive before inserting it into your presentation. Learn more in Method 1: Uploading audio to Google Slides via Google Drive.

How to make music automatically play on Google Slides?

To set up autoplay for audio in Google Slides:

  1. Select the audio icon on the slide.
  2. Open the Format options panel.
  3. Under Audio playback, choose Play automatically.

The audio will now play when you reach that slide in your presentation. For more tips, check out Playback options and formatting.

How do I add music to a slideshow?

There are three main ways to add music to a Google Slides slideshow:

  1. Insert audio files directly from Google Drive.
  2. Embed YouTube videos or link to tracks from Spotify, SoundCloud, etc.
  3. Record a voiceover or narration.

Visit How to add music to Google Slides: A step-by-step guide for detailed tutorials on each method.

Key takeaways:

  • Use the Insert menu to add audio from Google Drive or YouTube.
  • Adjust playback settings in the Format options panel.
  • Download music from royalty-free sites or your personal library.
  • Set audio to Play automatically for seamless playback during presentations.

What is the 10/20/30 rule for presentations?

The 10/20/30 rule is a simple guideline for creating effective PowerPoint presentations. It was popularized by Guy Kawasaki, a well-known entrepreneur and venture capitalist. Here's what the 10/20/30 rule suggests:

  1. 10 slides: A presentation should have no more than 10 slides. This helps keep the content focused and prevents information overload for the audience.
  2. 20 minutes: The presentation should last no longer than 20 minutes. Kawasaki believes that a presentation should be concise and engaging, and that 20 minutes is the optimal length for maintaining the audience's attention.
  3. 30 point font: The minimum font size used in the presentation should be 30 points. This ensures that the text is legible and easy to read, even from a distance.

The main idea behind this rule is to keep presentations simple, focused, and engaging. By limiting the number of slides and the duration of the presentation, the speaker is forced to concentrate on the most essential information. The large font size makes the slides more visually appealing and less cluttered.

How do I make my Google Slides presentation look good?

Here are some tips to make your Google Slides presentation look polished and professional, while keeping things simple for the average user:

Choose an appealing theme

  • Browse Google Slides' built-in themes for a cohesive look
  • Customize colors and fonts to match your brand or message
  • Stick to 1-2 fonts and 3-4 colors for consistency

Use high-quality visuals

  • Include relevant images, charts, and videos to engage viewers
  • Ensure images are high-resolution and not stretched or pixelated
  • Avoid clutter by using visuals purposefully, not just for decoration

Keep text minimal

  • Use keywords and short phrases instead of full sentences
  • Limit each slide to 3-4 main points
  • Break up text with bullet points for easy scanning

Apply clean, consistent formatting

  • Align text and objects consistently (e.g., left, center, right)
  • Use the same font sizes for headers and body text across slides
  • Add subtle transitions and animations for a polished look

Optimize slide layout

  • Use the "rule of thirds" for balanced composition
  • Leave plenty of white space to avoid overwhelming viewers
  • Place the most important content in the center or top-left

Stick to a simple color scheme

  • Choose a primary color for backgrounds and a contrasting color for text
  • Use an accent color sparingly, to highlight key points
  • Avoid clashing or overly bright color combinations

Additional resources

Royalty-free music sites:

Audio recording and editing tools:

With these resources at your fingertips, you'll be well-equipped to create engaging, professional presentations that harness the power of music and sound.

Movavi Video Suite

Everything you need to create and edit multimedia files

*The trial version of Movavi Video Suite has the following restrictions: 7-day trial period, watermark on exported clips, 60-second video or 1/2 audio length limit, and/or some advanced features unavailable when exporting videos.

Movavi Video Suite
Have questions?

Have questions?

If you can’t find the answer to your question, please feel free to contact our Support Team.

Join us for discounts, editing tips, and content ideas

1.5M+ users already subscribed to our newsletter

By signing up, I agree to receive marketing emails from Movavi and agree to Movavi's Privacy Policy.