How to Add Subtitles in iMovie: A Complete Guide

Use Movavi Video Editor to add subtitles to videos!

  • Trim, cut, crop, and rotate videos
  • Add titles, stickers, and transitions
  • Apply visual effects

By clicking the download button, you're downloading a trial version of the program.*

Edited by Ben Jacklin
6,445

Subtitles are great. Just ask legendary director Bong Joon Ho, who famously marked his Oscar Award acceptance speed by telling English audiences to open themselves to subtitled films.

In the years since, subtitles have only grown more important. They’re crucial for enhancing video content. 

There are three main ways subtitles boost content:

  • Accessibility: ensure everyone can enjoy your content, including people with hearing difficulties.

  • Engagement: they keep viewers engaged, even when they can’t listen to audio.

  • SEO: improve video discoverability by making content more searchable.

iMovie subtitles

In iMovie, adding subtitles to your video content is a simple matter of typing. Or copy-pasting, if you already have a transcription of your audio. 

Your best friend is the Titles menu, which should be located at the top of your screen. Click on that and then select your desired option. 

If adding each subtitle manually sounds like a bit of pain, that’s because it is. The longer or more complex your video, the more time-consuming this subtitling process will be.

Additionally, iMovie doesn’t have more complex subtitle editing features, only basic formatting and timing adjustments.

AI subtitles

Over the last few years, various AI tools have been released to automate this subtitling process. These often require some kind of payment, so if you’re on a strict budget they might not be viable.

However, the time you save could make up for the cost. And most AI tools have some kind of free trial, so you can give them a go and see whether they’re worth the price.

Does iMovie automatically add subtitles?

iMovie does not have a tool to automatically generate subtitles. Instead, you have to manually add them, either with iMovie’s own text tool or via a third-party transcription tool.

When you manually add subtitles in iMovie using the “Titles” tool, the text is permanently overlaid on your video. In other words, anyone viewing your exported video will be forced to have the subtitles present, even if they’d rather not have them.

That style of subtitles is called “open captions.” It contrasts with “closed captions.”

Open captions vs. closed captions

  • Open captions: these are always visible on the screen and cannot be turned off. They are "burned" into the video itself.

  • Closed captions: these can be turned on or off by the viewer, making them more flexible for various platforms.

AI subtitle tools

There are plenty of AI-powered subtitle tools. They’re often called transcription tools, too.

  • Descript

  • Rev

  • Otter.ai

  • Veed

  • Headliner

  • Kapwing

  • SubtitleBee

  • Flixier

Manual vs. automatic subtitles

Manual subtitles

AI-generated subtitles

Enter and format each subtitle individually and by hand

All subtitles automatically generated

Time-consuming, especially for longer projects

Efficient and quick

Open captions only

Choose between open and closed captions

Complete accuracy, assuming you enter each subtitle correctly

AI tools are usually not 100% accurate, meaning you’ll need to check the generated subtitles

Once created, the subtitle is in your project

Need to import subtitles to add to your project

How to add subtitles in iMovie on a Mac

The process of adding subtitles in iMovie might be time-consuming, but it’s certainly straightforward. The only tool you need to master is the text tool, also called the “Titles” tool.

Step 1. Open iMovie and import your video

To begin, launch iMovie. If your Mac doesn’t already have it installed, you can download it from the App Store. It’s free! 

If you’re starting a new project, click on Create New and select Movie. Then click on the Import Media button and select the files you wish to add. 

Once your media is imported, drag it to the timeline.

Step 2. Use the Titles feature to add subtitles

Go to the Titles feature in iMovie. This is where you’ll find different text templates that you can use to create your subtitles. 

To add subtitles to your video, simply choose a title style and drag it to the timeline above the video clip where you want the subtitle to appear. A title box will appear on the screen at that point.

Once the title box is in place, double-click it to open the editing options. Here, you can type the text you want for your subtitle. For example, if someone says something in your video, you can add their spoken words as text in the title box. The text will appear in sync with the video, but you’ll need to adjust the timing manually by dragging the edges of the title box in the timeline.

Step 3. Adjust subtitle appearance

iMovie allows you to customize the appearance of your subtitles. Make sure they’re easy to read and fit with your video’s style. 

After typing in your subtitle text, you can adjust the font, color, size, and position to suit your video.

Here are some things to consider:

  • Font: choose a simple, readable font like Arial or Helvetica. Avoid overly decorative fonts that may be difficult to read.

  • Color: use a contrasting color to ensure the text stands out against the background. Typically, white text with a black outline works best for visibility. Alternatively, use white text with a black background. You ideally want to strike a balance where subtitles are easy to read but not distracting.

  • Size: adjust the size of the text to fit the screen and be legible without overpowering the video’s content.

  • Position: you can move the text box around to place the subtitles at the bottom or top of the screen, where they’re least likely to obstruct important visual elements.

Remember, when manually entering subtitles you need to adjust the length of time they stay on screen. To do this, drag the edges of the title box in the timeline to make the subtitle appear and disappear at the correct moments. 

Repeat this process for every subtitle in your video.

Step 4. Export the video with subtitles

Once you’ve added all the subtitles, it’s time to export your project. iMovie offers several export settings depending on where you plan to share your video. 

Here are some good export options for popular platforms:

  • For YouTube: go to File > Share > File and choose the resolution and quality you desire. Select the H.264 codec for the best compression without losing quality.

  • For Instagram: if you’re sharing to Instagram, consider a square (1:1) or vertical (9:16) format. You can adjust this in the export settings under Resolution.

  • For presentations: if you plan to present your video offline or in a business setting, select the ProRes export format for the highest quality.

After choosing the appropriate settings, click Next, choose your destination, and hit Save.

How to add captions in iMovie on an iPhone and iPad

One of the best things about iMovie is that it’s available on mobile devices as well as computers. 

In fact, the iMovie app is widely considered one of the best for editing. It offers the same options to add subtitles and captions as the desktop app. That is, manual entry.

Step 1. Import your video in iMovie mobile

First, open the iMovie app on your iPhone or iPad. If you don’t have the app installed yet, you can download it from the App Store. 

Once the app is open, tap on Create Project and select Movie. Then, tap on the + icon to import your video. Choose the right video file from your library.

Step 2. Add captions using the Titles tool

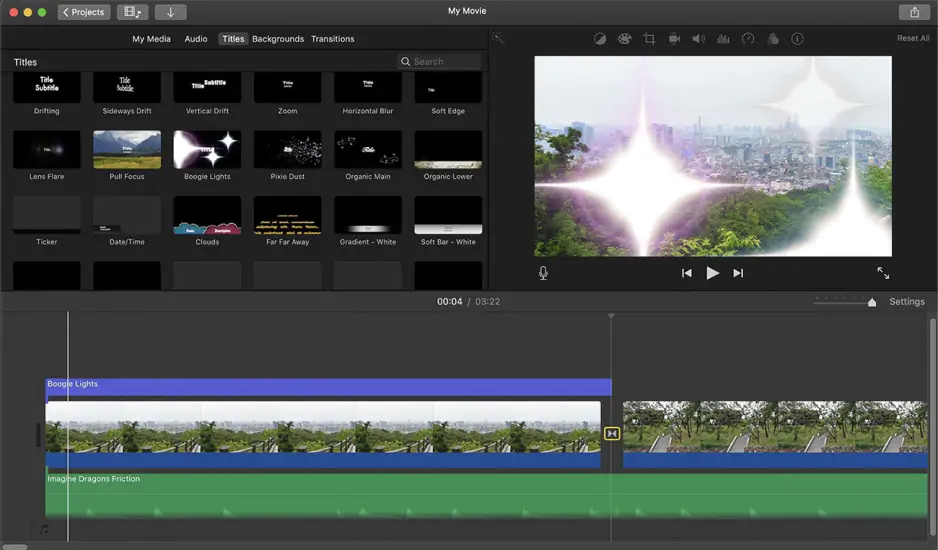
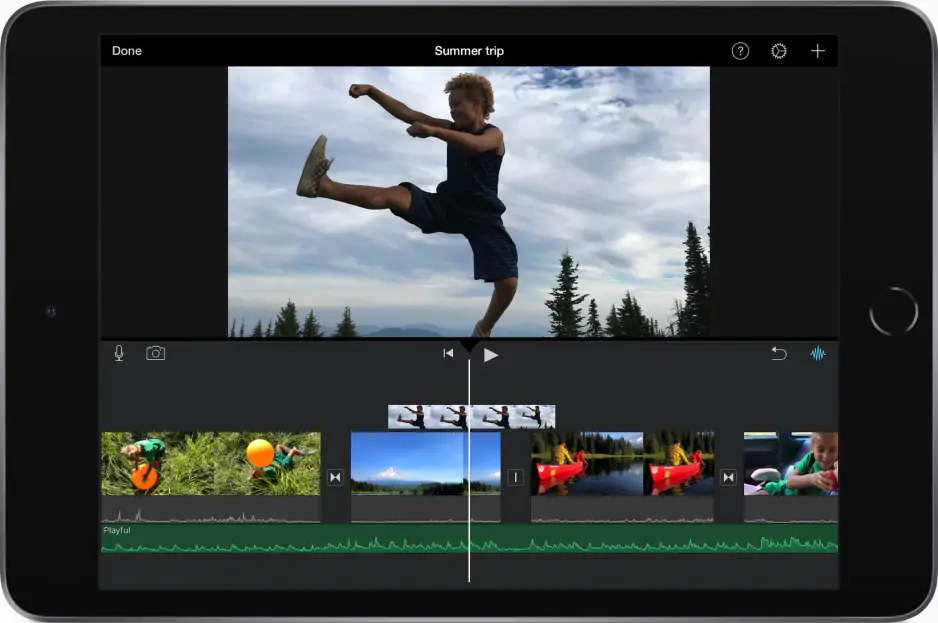
Like on the iMovie desktop app, captions in the mobile app are added through the Titles tool. 

Tap on the Titles button located in the menu bar at the bottom of the screen. You’ll be presented with a variety of title styles. Scroll through the options and select a style that works for your captions.

Once you select the style, it will appear in your timeline. You can now drag the title box to the spot in your video where you want the caption to appear. 

Double-tap the text box to edit the text. Type the caption or subtitle for that section of the video. If you’ve got it written out already, copy and paste it.

To add more captions, simply repeat this process. Drag a new title box to the timeline and edit subtitles.

You can adjust the placement of each title to sync with the video.

Step 3. Customize subtitle duration and styling

After adding the text, you can customize the appearance of the captions for better visibility. Tap the text box in the timeline to reveal editing options. And remember, you want your captions to be readable but not distracting.

Here’s what you can adjust:

  • Text: edit the text to match what’s being said in the video. If you need to describe a general noise, do so with square brackets.

  • Font and style: choose a simple, readable font for clarity. While iMovie for iPhone and iPad has fewer customization options compared to the desktop version, you can still choose from different font styles.

  • Color and size: adjust the color of your captions for contrast. Typically, white or yellow text on a dark background works best for readability. You can also adjust the size of the text to ensure it's not too large or too small.

  • Positioning: by default, captions appear in the center of the screen, but you can drag the text box around to place the caption at the bottom, top, or another desired location.

To adjust the duration of the captions, tap and hold the edges of the title box on the timeline. Drag the box to set how long the caption will appear on screen. You can also adjust the timing by moving the title box to match the speech or action in the video.

Step 4. Export and share your video

So, you’ve added and customized your captions. Congratulations! Now it’s time to export and share your video. 

To do this, tap on the Share icon in the top right corner of the screen. From there, you can choose how to save or share your video.

Here are some options:

  • Save to Photos: if you want to keep the video on your device, select Save Video to export it directly to your Photos library.

  • Share to social media: you can also share the video directly to platforms like YouTube, Instagram, or Facebook by selecting the respective option from the sharing menu.

  • Export quality: iMovie allows you to select the resolution (e.g., 720p, 1080p, or 4K) depending on your needs. If you’re just exporting a test, choose a lower resolution to save time and storage space. For final exports, go with the highest resolution appropriate.

Customizing and editing subtitles in iMovie

Editing subtitle timing

To adjust the duration of a subtitle, click on the text box in the timeline. You’ll notice handles at both ends of the text box. 

To change how long the subtitle stays on screen, click and drag these handles. If you’re using the mobile app, tap and drag. 

For more precise timing, move the entire title box left or right in the timeline to match the exact moment when the dialogue or action occurs.

Changing subtitle placement

To modify the placement of the subtitles on the screen, click on the title text in the preview window. You can drag the text box to position it wherever you prefer. 

Usually, subtitles or captions are kept at the bottom of the screen. But if placing subtitles at the bottom would ruin your video, put them somewhere else!

Adjusting font and style

To change the font style or size when creating subtitles, double-click the subtitle text in the preview window. A text editor will appear, allowing you to choose from various font options.

Select a font that’s easy to read and complements your video’s style. You can also change the font color by clicking on the color swatch in the text editor. This is especially useful if you need the text to stand out from the background. 

For visibility, white or yellow text with a black outline or background works well.

Other text styling options

If you'd like to bold or italicize your text, these options are available in the text editor. 

Additionally, consider adjusting the text size to ensure it’s large enough to be legible without overpowering the video content.

iMovie subtitle limitations and troubleshooting

As you can probably guess, iMovie’s manual subtitle entry has its limitations. We’ve discussed a few of them, like the relative lack of advanced formatting options.

However, another major limitation to iMovie is the fact it doesn’t support SRT files. But why is this such an issue?

Why iMovie doesn’t support SRT subtitles

SRT files are a popular subtitle format that contains time codes and corresponding text. They allow subtitles to be synchronized automatically with the video. Just imagine how much time this saves!

Unfortunately, iMovie does not have a built-in feature for importing subtitle files like SRT. That means you’ll have to add subtitles manually.

Workaround for SRT files in iMovie

If you have a video with an SRT subtitle file and want to use it in iMovie, you’ll need to use a workaround:

  1. Convert the SRT file. Convert the SRT file into a format compatible with iMovie, such as a text file. There are plenty of online tools that can do this, many for free.

  2. Add subtitles manually. After converting the SRT file, open iMovie and add subtitles using the Titles tool, as discussed above. 

Common subtitle issues and fixes

Sometimes, even after adding subtitles manually, you may face issues with their appearance or timing. 

Here are some common subtitle problems and fixes to help you troubleshoot:

Problem

Possible cause

Fix

Subtitles disappear too soon

  • Subtitle duration is too short
  • Timing is off

Ensure the subtitle is the right length and at the right position in the timeline.

Text doesn’t fit on the screen

  • Font size too large
  • Wrong font
  • Text box too small
  • Subtitles in the wrong position

Adjust the font size by double-clicking on the text and changing the number. You can also chant the font to something more compact. Click and drag on the borders of the text box to resize it, and position it appropriately.

Text overlapping

  • Font too large
  • Multiple subtitles overlapping

Ensure you don’t have multiple subtitles appearing at the same time in the timeline. And if you want multiple subtitles appearing simultaneously, position each one so that it’s readable.

Best practices for subtitles in iMovie (accessibility guide)

Ensuring your movie is accessible means more people can enjoy it. And the bigger the audience, the better! 

Individuals with hearing impairments, for example, often require subtitles to interpret the audio of a movie.

Two popular sets of regulations or standards for ensuring accessibility are the Americans with Disabilities Act and the Web Content Accessibility Guidelines. We’ll cover what they recommend below.

1. Font style and size

  • For clarity, use sans-serif fonts like Arial or Helvetica. These are generally easier to read on screens. 

  • Avoid decorative fonts that may be difficult to read. Of course, you can make an exception if a specific font is just perfect for the aesthetic of your film.

  • Make sure the font size is large enough to be easily legible, even on smaller devices like smartphones. A font size of around 24-30px is typically a good starting point, but adjust depending on your video’s resolution.

2. Color and contrast

  • Ensure your subtitle text has a high contrast against the background for readability. 

    White or yellow text with a black outline is a common choice. Alternatively, try white text with a semi-transparent black background. 
  • If your video has a bright or light background, opt for a darker font color like yellow or black to maintain visibility.

3. Caption positioning

  • Position your captions towards the bottom of the screen. This is generally where viewers expect them to appear without obstructing important visual content. 

  • Ensure there’s enough margin between the text and the edges of the screen to prevent text from being cut off on smaller devices.

  • Remember, the key is to ensure your subtitles don’t obstruct or distract from the visuals. If you need to move them somewhere else on the screen to achieve this, do so.

4. ADA & WCAG accessibility compliance

To comply with ADA and WCAG, your captions should be:

  • Synchronized with the audio

  • Legible with clear contrast

  • Available for all spoken words, including non-speech elements like sound effects

By following these practices, your video will be more inclusive and accessible, reaching a broader audience while complying with accessibility standards. This isn’t just about following rules. It’s about giving as many people the chance to properly enjoy your video content.

Faster ways to add subtitles: AI tools and alternatives

As we’ve discussed, manually adding subtitles in iMovie is a time-consuming process. For better or worse, movies are usually created with a deadline. Some deadlines are more flexible than others, but your time is limited.

There are plenty of AI tools out there that can help save you time when adding subtitles to your video content. Let’s discuss a few. 

Descript – AI-powered subtitles for fast editing

Descript is an AI-powered tool that automates the subtitle generation process by transcribing your audio or video files. 

After uploading your video, Descript automatically generates subtitles, which you can then edit and refine. 

Once finished, you can export the captions as an SRT file or manually add them to iMovie.

Verbit – Professional-quality captions

Verbit offers high-accuracy captioning services. It combines AI with human editors to ensure accuracy and compliance with accessibility standards. That makes it a great choice for businesses.

After generating captions, you can download them in various file formats like SRT.

Notta – Simple transcription and subtitle integration

Notta is another AI-based tool that provides simple, fast speech-to-text features for easy transcription. With Notta, you can automatically generate subtitles from your video and audio files. 

It’s particularly useful for content creators who need to quickly add captions without complex features. 

Final thoughts & next steps

When it comes to adding subtitles in iMovie, you’ll have to do some manual work. But just how much manual work is up to you. 

If you prefer to stay in a single app, add each subtitle with the Titles tool. Alternatively, use an AI tool to automate some of the process. 

Movavi Video Editor

Create awesome videos easily

*The free version of Movavi Video Editor may have the following restrictions depending on the build: watermark on exported clips, 60-second video or 1/2 audio length limit, and/or some advanced features unavailable when exporting videos.

Movavi Video Editor

Frequently asked questions

How do I add subtitles to an iMovie video?

Use the Titles tool to add text to your timeline. Edit the text to match what’s being said.

How do you add text wherever you want in iMovie?

iMovie’s Title tool allows you to position text wherever you want. After adding the title, click (or tap) and drag the text to position it on your screen.

Can iMovie add subtitles automatically?

Unfortunately not. You’ll have to add them manually.

Have questions?

Have questions?

If you can’t find the answer to your question, please feel free to contact our Support Team.

Join us for discounts, editing tips, and content ideas

1.5M+ users already subscribed to our newsletter

By signing up, I agree to receive marketing emails from Movavi and agree to Movavi's Privacy Policy.